DIY Snow Globes Four Seasons Sensory Bottles Activity
Learning about the four seasons is so fun because it provides all sorts of textures and is visually stimulating! These diy snow globes are perfect for your next four seasons sensory bottles activity! Click here for an educational four seasons graph art activity.
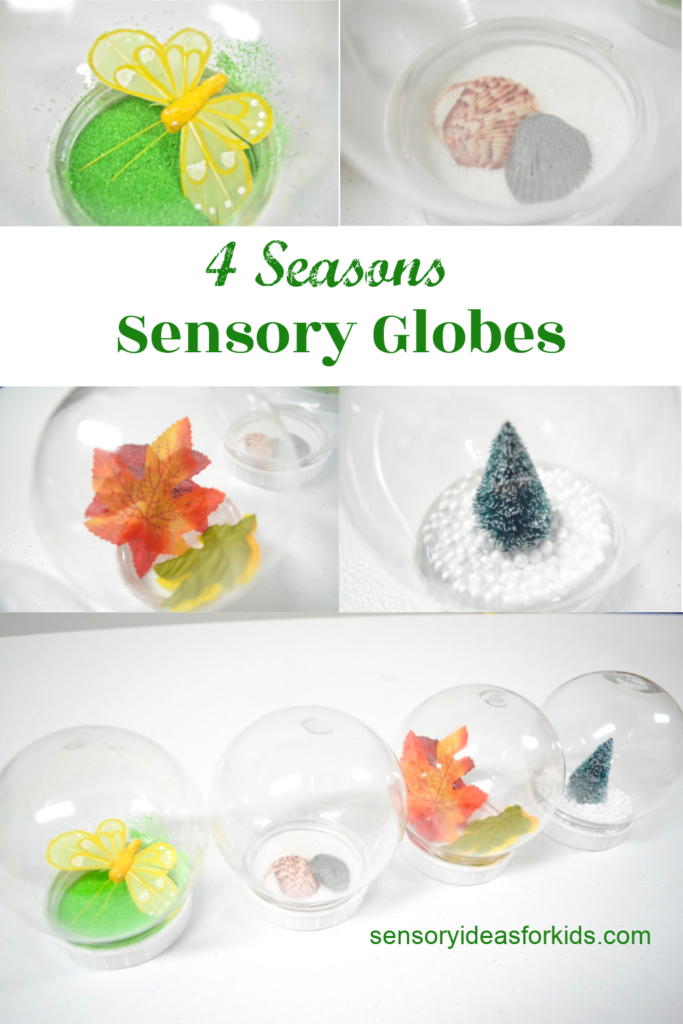
Below I’ve separated out each diy snow globe by the four seasons – spring, summer, fall, winter. You can choose to do these all at once when talking about the seasons or you can make each individual “snow” globe during that corresponding season!
The fun thing is that you can really use ANY materials that you have on hand to represent that season! I featured how we made ours below but you can absolutely change up the supplies of what you put inside your diy snow globe.
Basic Seasons Sensory Bottles Craft Supplies Needed:
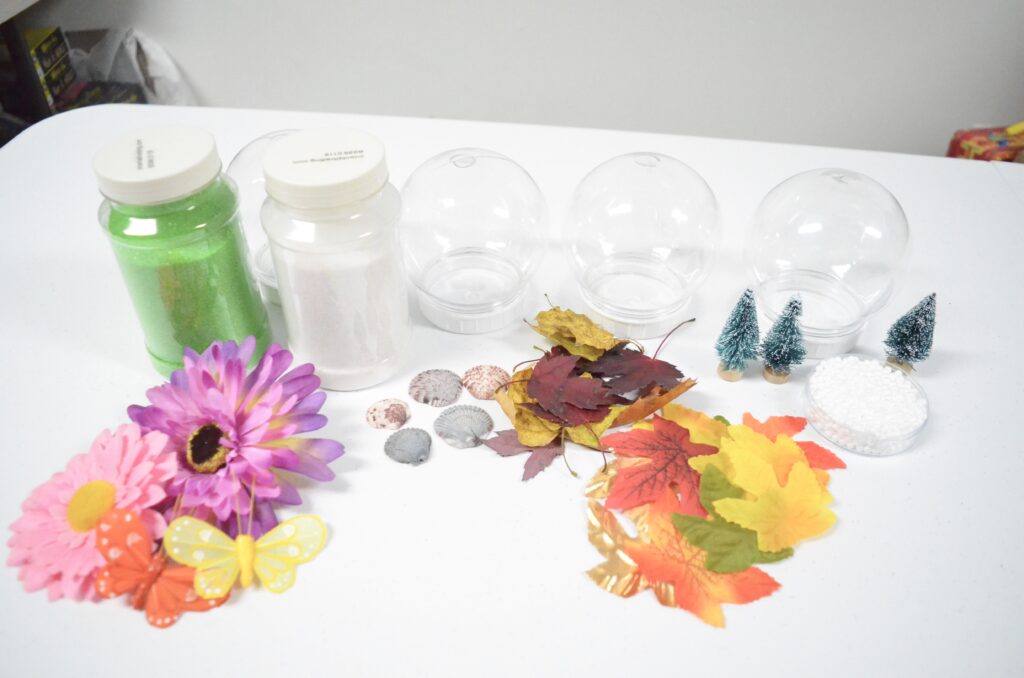
4 clear diy snow globe containers
craft foam balls
seashells
leaves
flowers
fake insects (butterflies, ladybugs, etc)
green craft sand
white craft sand
glitter
mini fake Christmas trees OR pine needles
aquarium sealant (only if gluing Christmas trees – see below)
liquid glycerin
distilled water
TIP: I recommend using fake items as opposed to real items (leaves, flowers, etc.) UNLESS your diy snow globe is strictly for a quick temporary project! Ultimately things like leaves and flowers will discolor and break down leaving the water inside murky and gross!
How to Make a DIY Spring Snow Globe:
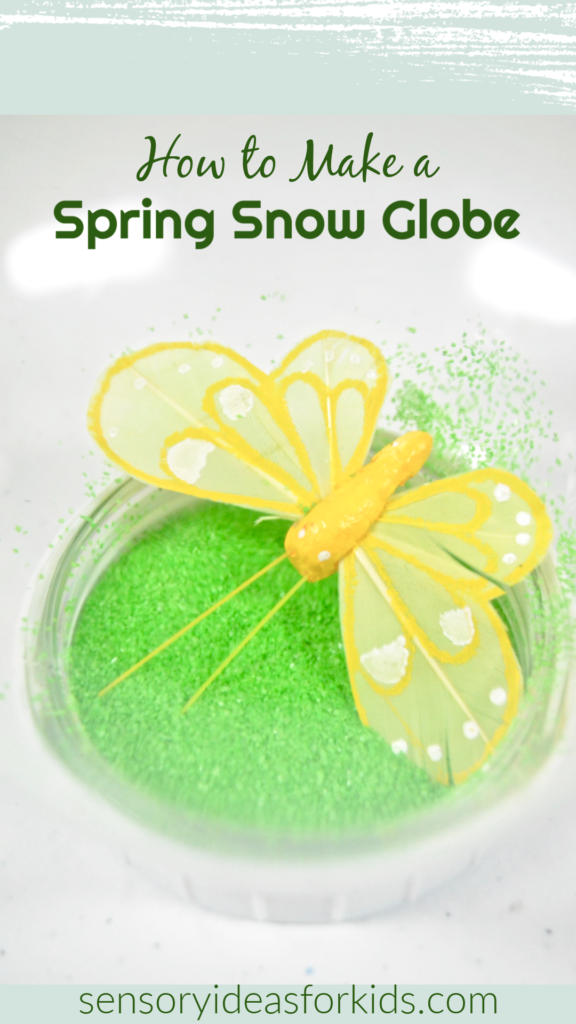
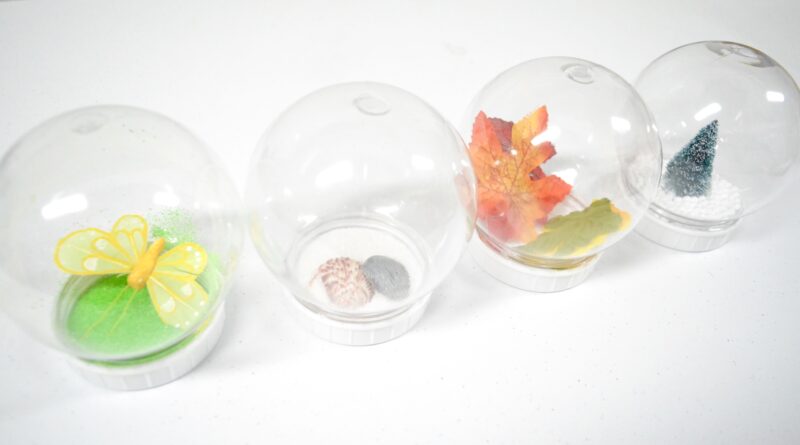
For our spring “snow” globe I wanted plenty of green a life like items with plenty of color inside our seasons sensory bottles.
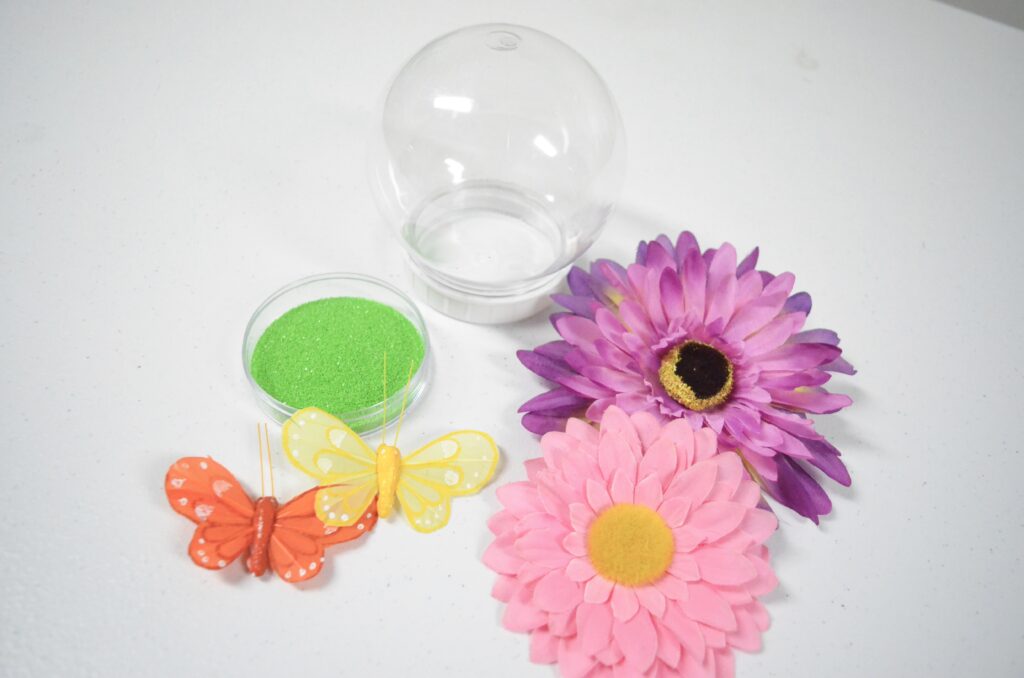
I chose green craft sand to settle on the bottom, fake flowers, and fake butterflies since I think of life when I think of spring! You can add in some blue glitter for “April showers” too! Other creative spring items you could include are fake ladybugs, tiny bird nests, small birds, etc.
Add in 1 Tbsp. of liquid glycerin and then fill the rest of the globe with distilled water leaving a small amount at the top for air.
How to Make a DIY Summer Snow Globe:
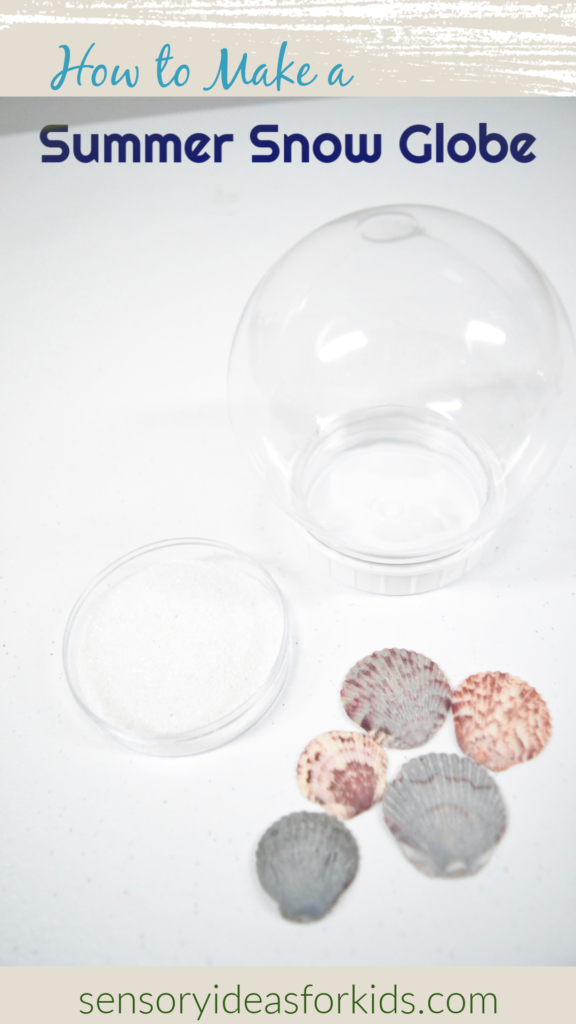
Summer comes with plenty of sunshine and outdoor adventures so we chose to put a beach scene in our snow globe!
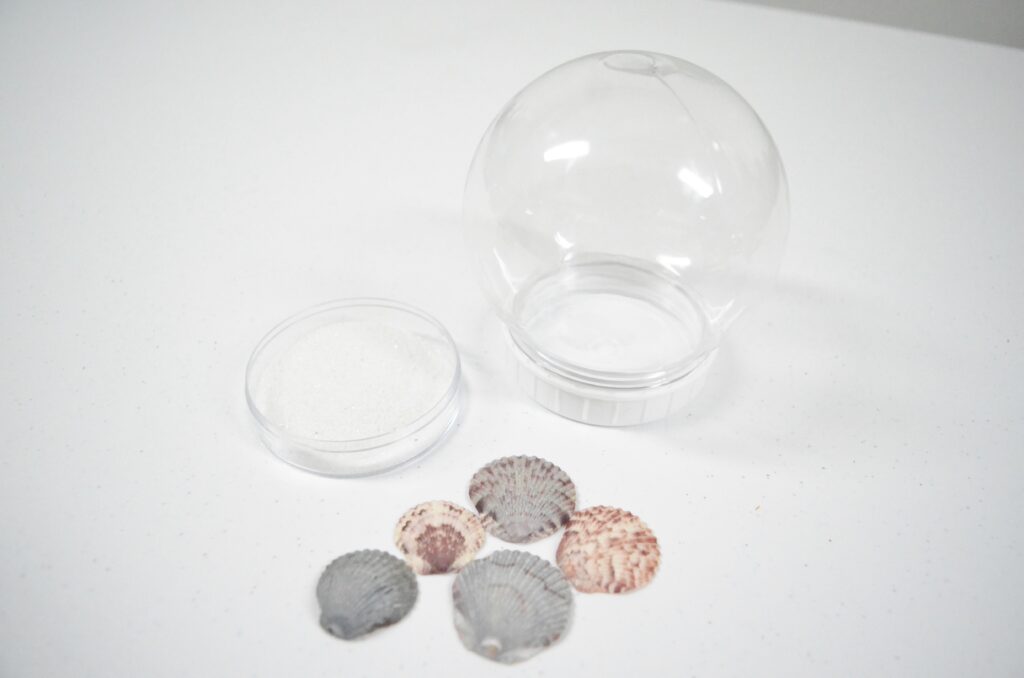
We added white sand and seashells to our summer globe to keep it simple! You can add toy crabs, palm trees, or anything else you want inside! Be careful if you add sea stars (starfish) or sand dollars though as they can break easily if banged around on the sides of the snow globe!
Add in 1 Tbsp. of liquid glycerin and then fill the rest of the globe with distilled water leaving a small amount at the top for air.
How to Make a DIY Fall Snow Globe:
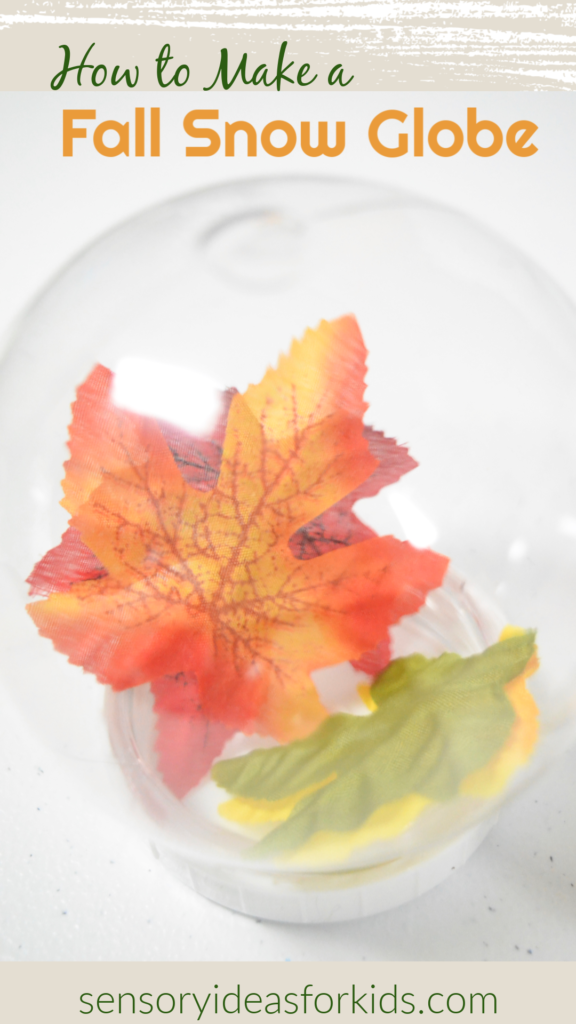
Aside from our spring season globe, our fall globe is also the most colorful one of the seasons! It’s definitely the easiest one to grab items outdoors for if you’re using items that aren’t fake!
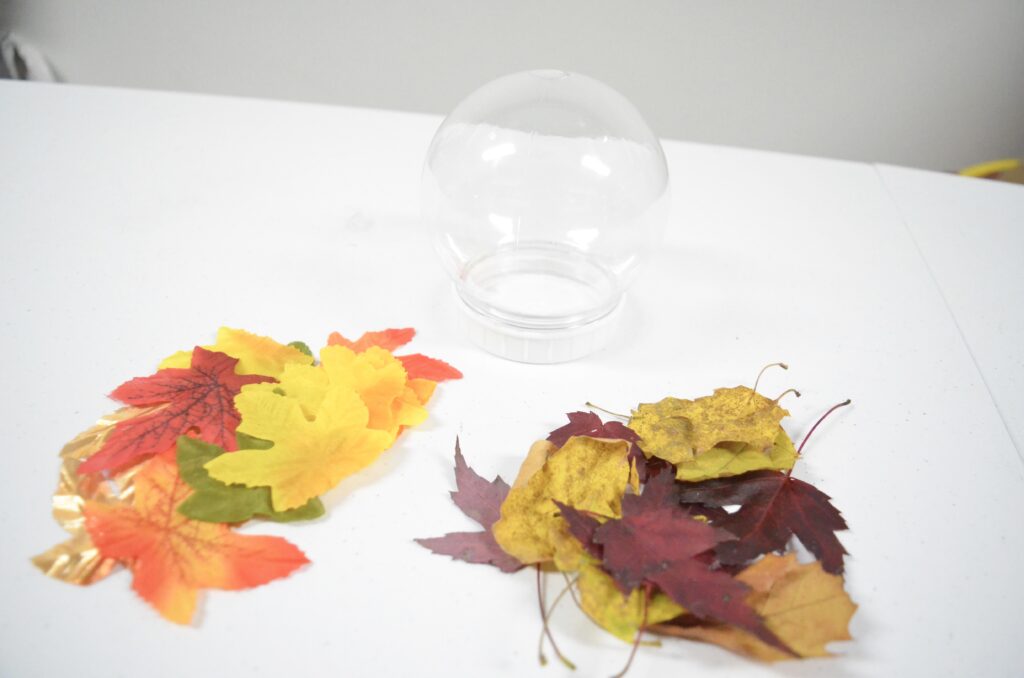
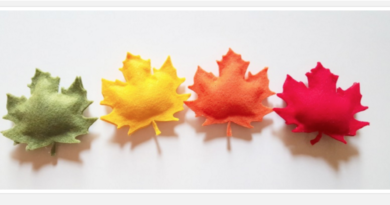
Grab real (or fake – see note about using real items) leaves, acorns, twigs, and anything else you want to add to your snow globe! I picked up some bright colorful craft leaves you see above on the left from the Dollar Tree!
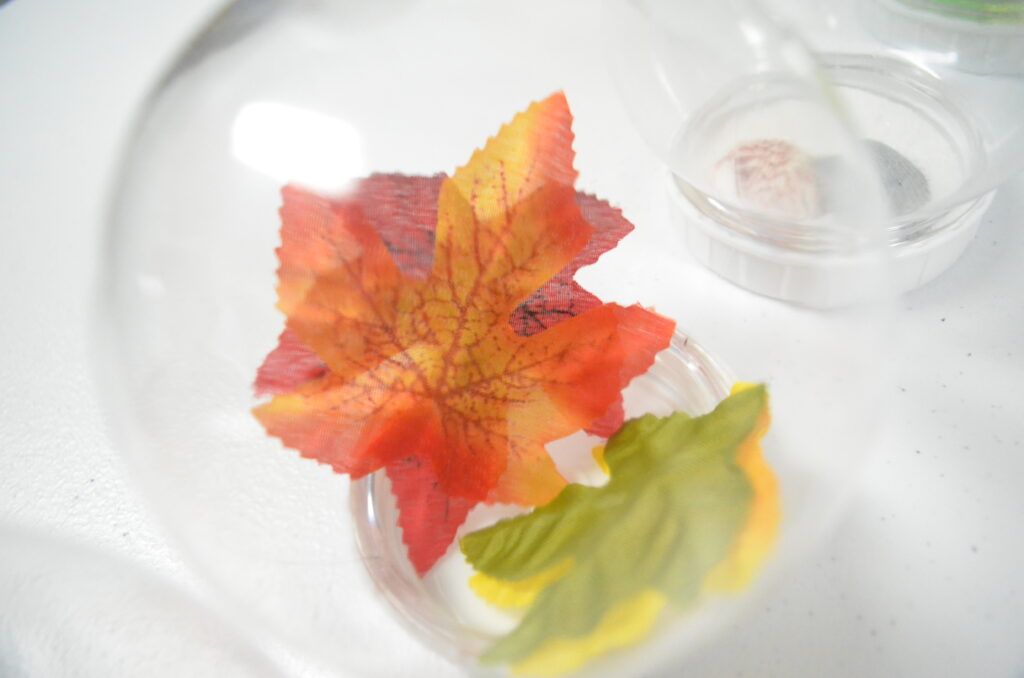
Add all of your pieces inside the fall globe! For this particular season we had SO many wonderful items we tended to overstuff the diy globe so make sure not to over fill your globes! If you add too many items inside (even though it seems like a fun idea!) it will be very difficult to actually shake and watch things float around!
Add in 1 Tbsp. of liquid glycerin and then fill the rest of the globe with distilled water leaving a small amount at the top for air.
How to Make a DIY Winter Snow Globe:
It’s the most wonderful time….of the year! *imagined in a sing song voice*
Winter snow globes are of course, the most popular diy snow globes because it’s the holiday season!
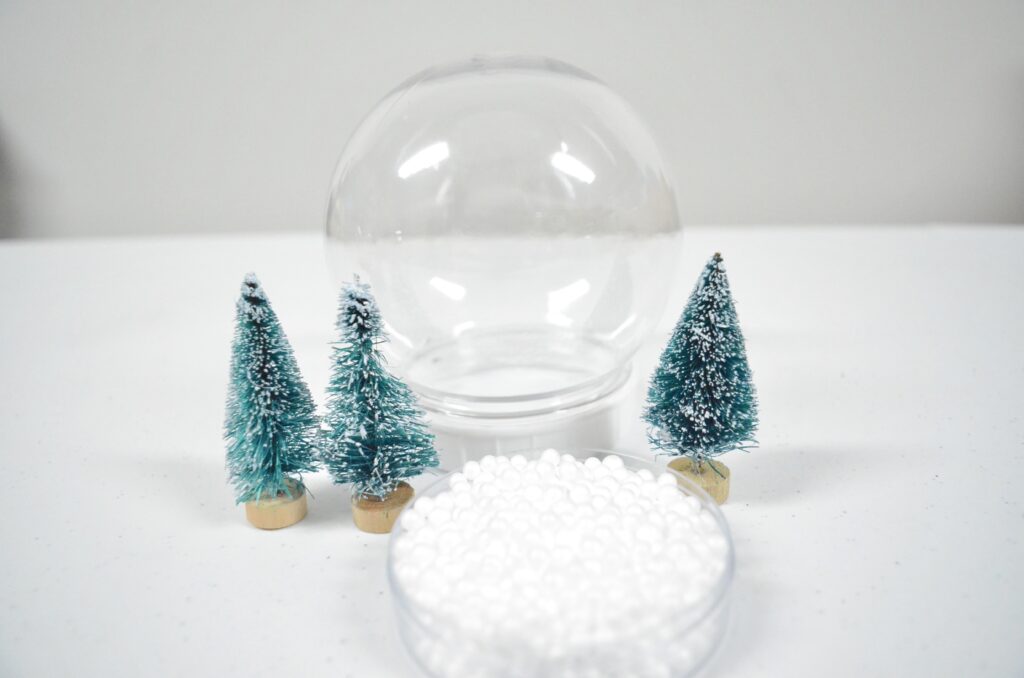
You can find these mini holiday trees on Amazon, Dollar Tree, or Oriental Trading! Same with the little white craft foam balls. Those are usually in the craft department and are popular for making with slime. Other ideas would be snowflake confetti, glitter, etc.
Add in 1 Tbsp. of liquid glycerin and then fill the rest of the globe with distilled water leaving a small amount at the top for air.

